Sam’s tech diary: chapter 4
So, after setting up my Pi, sorting my WiFi and taking a quick trip to the land of ad blocking, I’m back to the mission at hand: building my smart home.
The main things I wanted from my smart home were…
- Privacy: it needs to work without an internet connection wherever possible
- Voice control: suitable for multiple users (preferably with configurable and personalised responses)
- Community support: friendly answers from others who’ve run into the same problems
- Integration: I want to be able to use the best thing for the job, not have to discount half the market because it doesn’t integrate with my choice. Oh, and it has to work with what I currently have – a couple of Neato vacuum cleaners and a Sony Bravia TV
I chose the Neato robots because they have a developer API – and my original intention was to build something that would send requests to it.
One of the nifty Neato vacuum robots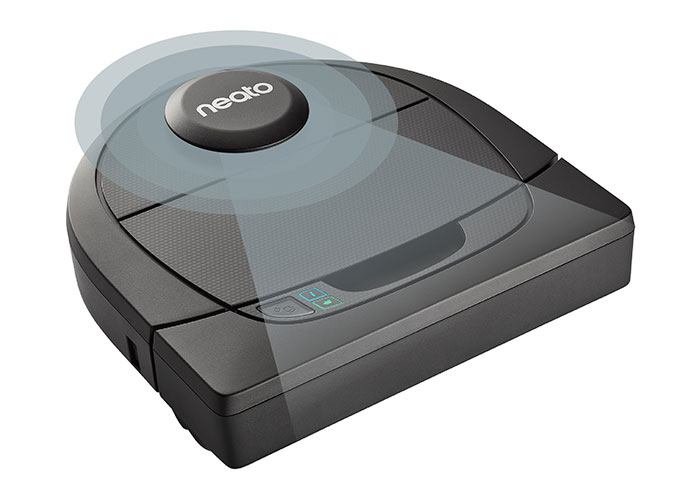
But, thinking about potential future uses for the smart home, it would be way more work to build my own if something already exists that meets the above criteria. (I’m sure getting stuck into radio frequencies and bluetooth adapter protocols is a lot of fun, but there’s a finite amount of time before heat death of the universe…)
And so after a lot of reading and video watching, it came down to three choices:
- Home Assistant
- openHAB
- Mozilla WebThings
Weighing the options
 Home Assistant is probably the most popular, has a lot of engagement (biggest subreddit, most GitHub stars) and presents itself as a very slick setup, with a relatively simple way to add custom devices.
There’s support for heaps of products, including my vacuums, an IFTTT integration in case I want to connect things outside of the home network – for example, using lights to show if I’m in a meeting.
Config files for adding things are done with YAML and JSON which should be fairly easy to get used to, and you can do quite a bit with the UI as it comes.
 openHab is a more mature product. It’s been around for a while and supports a similar number of devices to Home Assistant – and they also have their own very active forums.
From what I’ve read, though, it’s a little more fiddly to use if you want to do complicated things. There are a lot of options that would probably put off someone who doesn’t have a technical background but, on the flipside, the amount of customisation is pretty interesting.
Configuration is done with XBase (no, I’ve never heard of it either), but there’s a plugin that means I can write JavaScript and convert that to XBase, so it’s not a big deal.
 Mozilla WebThings Gateway is the most interesting, but unfortunately the least ready. If I was going to home-build all of the bits of the smart home I’d definitely choose this – it’s the most exciting – but until there’s more product support I don’t think it’s going to be for me.
It’s written in node, so if I get some time I’ll have a look at some of the open issues and see if there’s anything I can do to help.
The main installation instructions for all of the above assume that you’re going to be using your Raspberry Pi solely for this purpose. Which I guess is fair enough – and has meant they can package it up into their own OS with nice, easy-to-use images.
But as you know, I’m already using my Pi to block ads, so if they had their way I’d have to take Pi Hole offline while I try these things out… and seeing as I’ve just finished making it an integral part of the network, it would be a pain to have to mess around with the configuration (and have all the ads come back while I try things out!). Not keen on that.
Manual installation on an existing OS is a slightly more involved process, but there are guides around for Home Assistant and openHAB.
I’d like to try both of these, but on balance I opted to start with Home Assistant. Figure I might as well warm up with the simplest option, so that I can get used to the concepts…
Installing Home Assistant
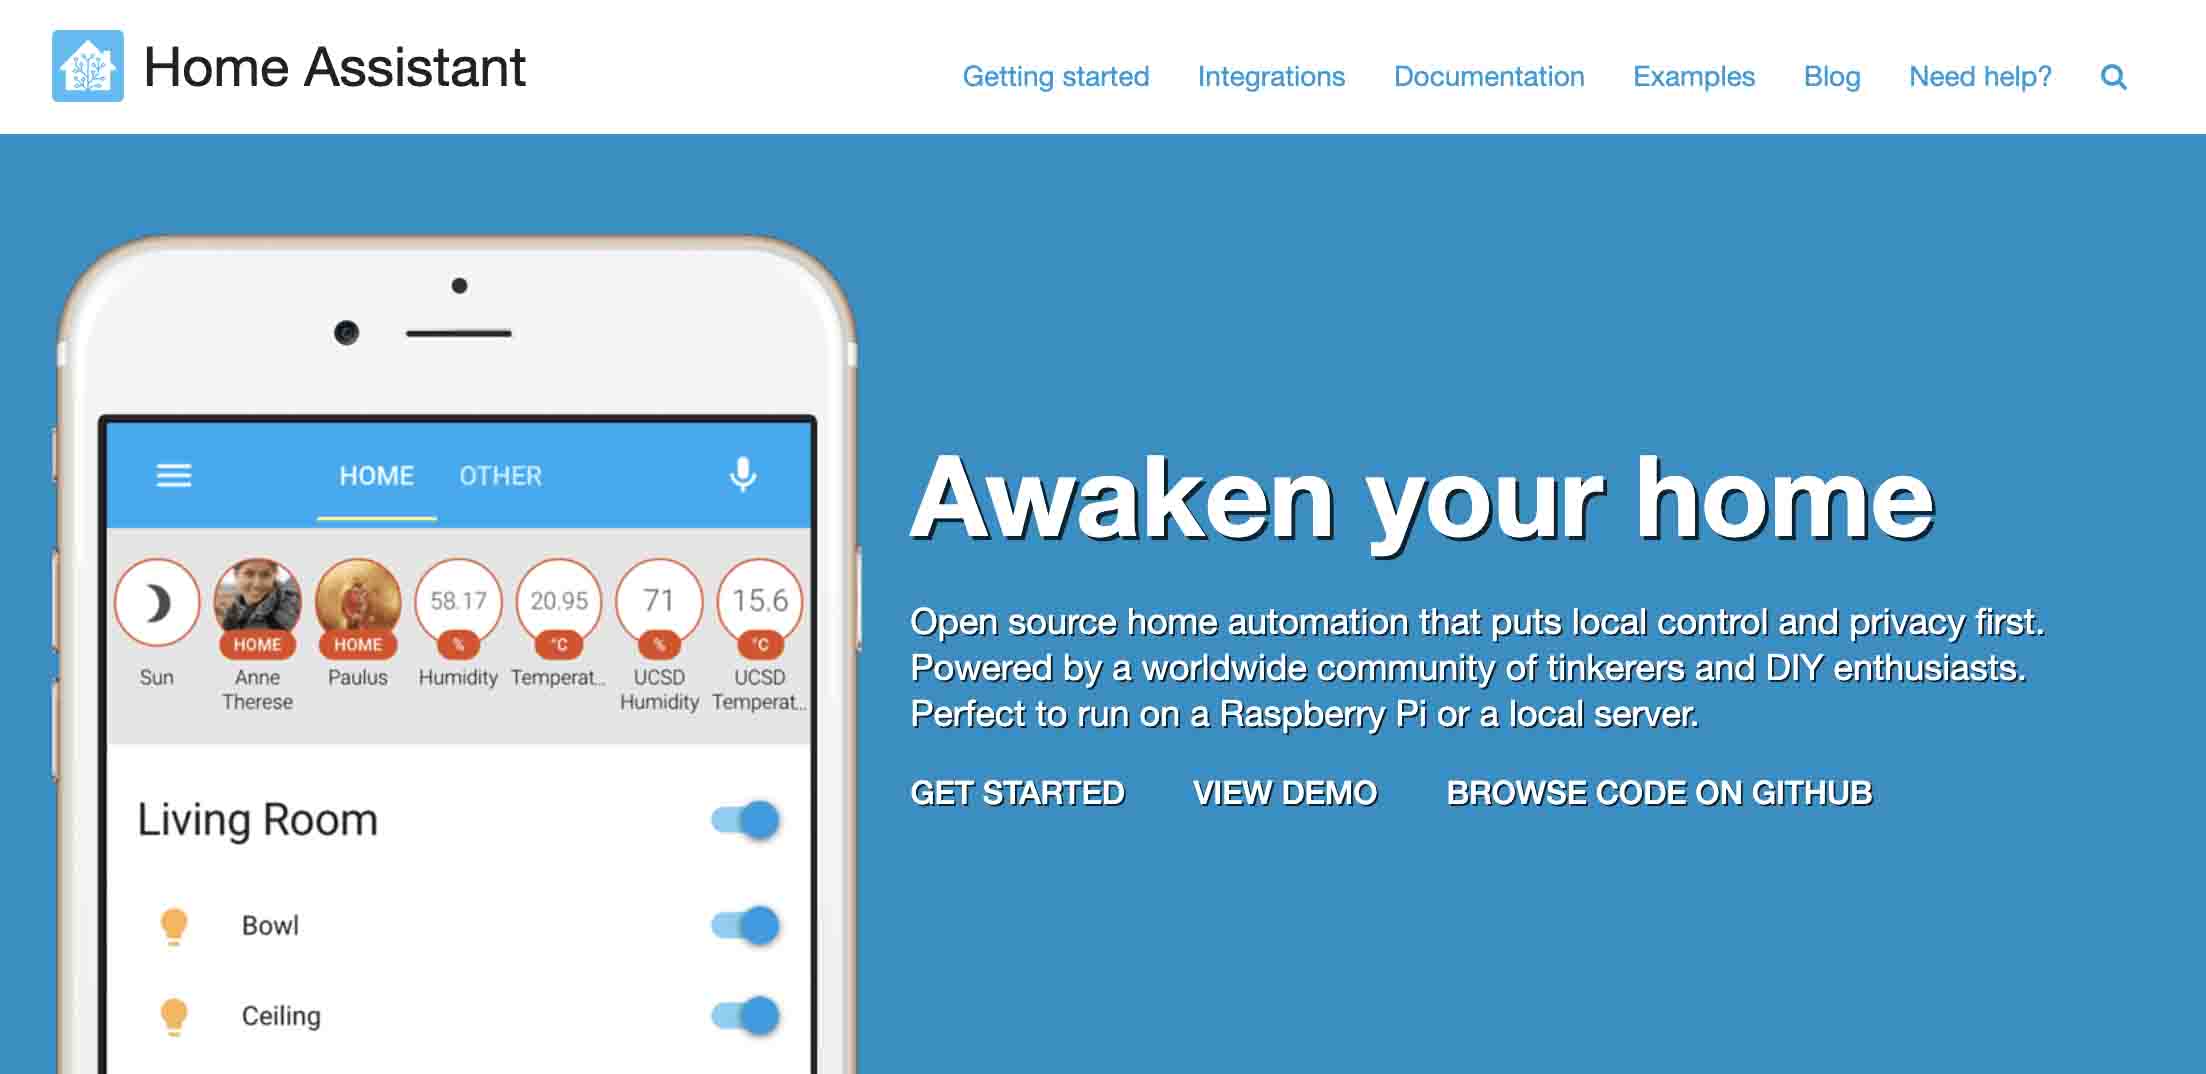
Installing Home Assistant was relatively painless, if a tad convoluted. But eventually I ended up with a UI that I could use to integrate devices – there are integrations for Neato, Sony Bravia and the Chromecast built into the TV.
Neato requires you to log into the account, because all the instructions go through its servers. Connecting the TV was a case of entering its IP address and typing in a pin code from the screen. I can’t even remember how I connected to Chromecast, so it must have been a doddle.
Having the Chromecast integration gives you a simple text-to-speech and volume control, which means you can make your TV shout swear words in a little robot voice. Man, I love the future.
After an interlude of childish giggling, I made a shocking realisation. The Bravia integration for Home Assistant breaks iPlayer and the other UK catch-up services. And as Countryfile is how we remind ourselves what trees look like, this Just Wouldn’t Do. What an emotional rollercoaster this is turning out to be.
It breaks because Sony have packaged the integration inside YouView/Sony Select – which works fine if you have FreeView, but not if you have FreeSat.

A happy John Craven after Countryfile's back on my curse-word-enabled TV! (Photo credit: Rex Features)
Thankfully there are other people who think YouView is a steaming pile, and who have very kindly collected all the APKs (app files for Android) and published them separately for sideloading.
Installing these is relatively easy – just download them from GitHub, bang them on a USB stick, choose a file explorer from the Play Store on your TV, give it permission to install apps from unknown sources, and away you go.
And just like that, John Craven is back on our screens, and the TV can now scream ‘POOP!’ whenever we want. Hurrah!
What about voice control?
Obviously Voice control has come on a long way over the last few years.
(Remember this 30 Rock sketch?..)
But it’s something that’s only really started to emerge for these open source smart homes in the last six months or so.
Until then, people were using Alexa, Siri or whatever Google calls their identical thing, and the vast majority of users continue to do that because it works very well for them.
Voice control has a few phases:
- Speech to text (i.e. translating your mutterings into a legible sentence)
- Text to intent (i.e. working out what that sentence is asking it to do)
- Intent to action (i.e going ahead and doing it)
- Action to confirmation (i.e. telling you it’s doing what you asked it to)
Speech to text takes a lot of processing power. And that’s why it’s usually done in the cloud – the big boys can just throw a data centre at my mumbling and work out what I meant. It’s a bit trickier for the home-made smart-homer.
There are some things like Rhasspy that have been added to Home Assistant recently, so I’m excited to try that in the future, but I might need one of the newer Pis – or have to do the processing on a laptop.
So, for now, I’m just going to focus on creating some automations, then see if I can work on the voice activation for them later.
Thoughts so far…
Actually using Home Assistant to do stuff is… ok. Quite often something that you think should be available through an integration is instead baked into Home Assistant. Making one of the Neatos go “beep”, for example, isn’t a Neato thing – it’s a vacuum thing.
The documentation is a bit of a learning curve if you don’t have any prior knowledge, so it took a little while to make anything happen.
But, I do now have a "bedtime alarm”! The robot will beep if the TV is on at 10:00pm, and the TV will shut down at 10:30 – as even Countryfile should be enjoyed in moderation.
Progress!
